Step 1: Install Apache2, PHP and MySQL
We assume you already have installed LAMP setup on your system. If you do not have installed, Use following command to install it. Below command will install Apache2, PHP5 and MySQL server in your ubuntu system.
$ sudo apt-get install apache2 php5 mysql-server
Step 2: Install phpMyAdmin
After installing LAMP stack, lets install phpMyAdmin using below given command in your Ubuntu system
$ sudo apt-get install phpMyAdmin
Step 3: Configure Apache2 for phpMyAdmin
After installation of phpMyAdmin it creates a configuration file for Apache2. Edit Apache2 main configuration file /etc/apache2/apache2.conf and add following line at the end of file.
# Enable PHPMyAdmin
  Include /etc/phpmyadmin/apache2.conf
After updating above entry, restart Apache2 service using following command
$ sudo service apache2 restart
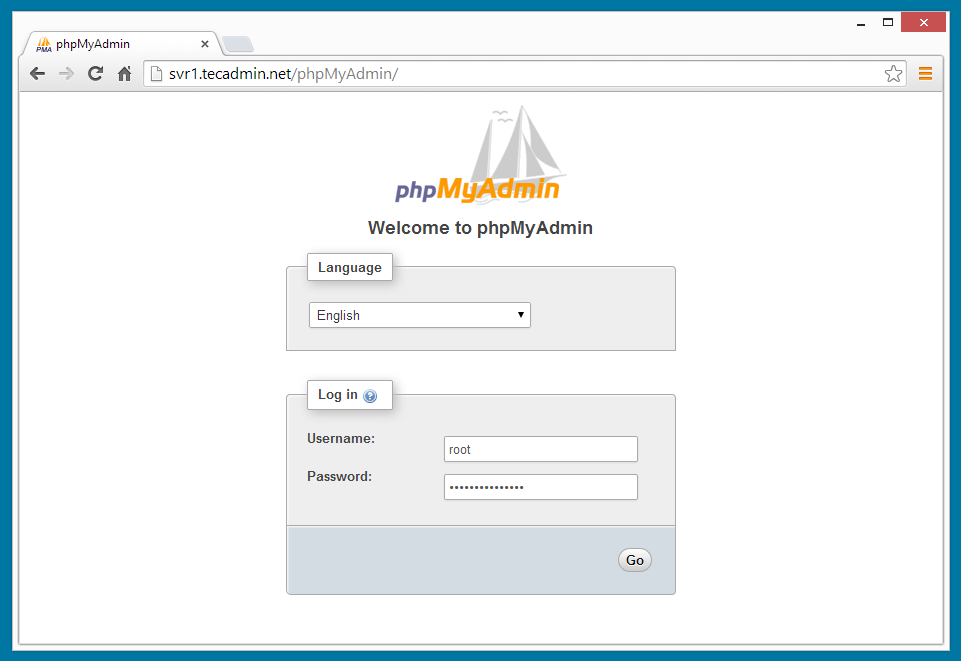
Step 4: Access phpMyAdmin in Browser
You phpMyAdmin installation has been completed successfully. Open you favorite web browser and open below url to access phpMyAdmin
http://svr1.tecadmin.net/phpmyadmin/
If you are accessing from remote system, change localhost to system ip address.
+ more: Error with phpmyadmin
if you see this error it means that you have to enable 'mcrypt' module

$ sudo service apache2 restart